Showing posts with label Deena. Show all posts

March 9, 2016

Shamrock Seed Tags

Hi and Happy Wednesday. March sure is moving along quickly. With next Thursday being St. Patrick's Day, I thought I'd make some St. Patrick's Day tags to help celebrate.


These are made with my Luck of the Irish Shamrock Seeds printable that is currently listed on etsy. 

These were super easy to make. I simply printed the tags on white card stock, trimmed them out, inked the edges with a mossy/sage green ink. I used a circle punch and punched out the center circle from another tag (six tags print on each 8.5x11 page) and added some foam dots to the back to give it a little dimension and placed it over where the existing circle is.

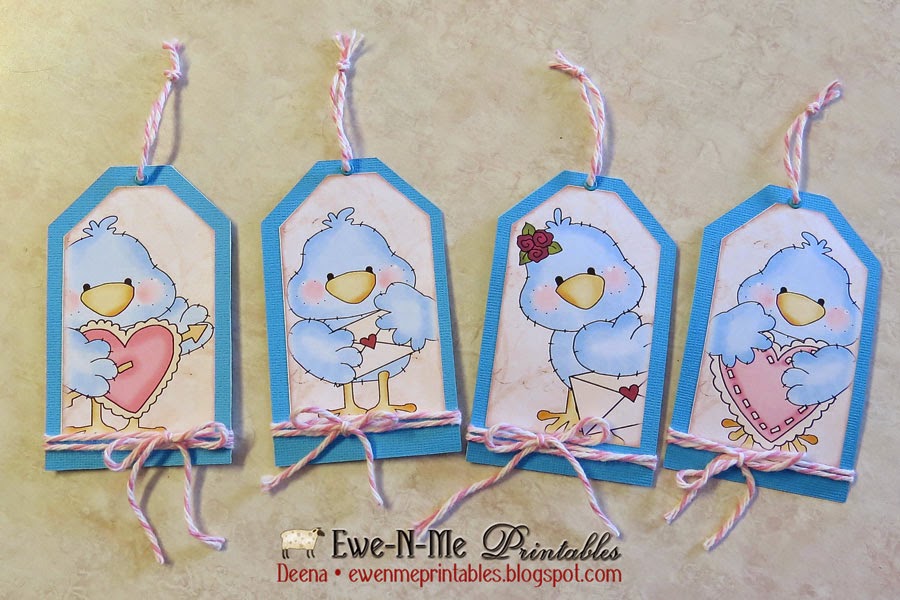
I matted the back of the tag with some green textured cardstock. I also added ribbon to the top and bottom of the tag, eyelets and some cute little sparkly gems to give it some pop. I'm pretty happy with the way they turned out. You can click the photo to see a larger view.


If you're interested in purchasing this file it's available in my etsy shop as an instant download, this is available as a pdf or jpg file and you'll have the choice to download whichever format you prefer (you can download both if you like) at www.ewenmeprintables.etsy.com or you can find them by CLICKING HERE.


Thank you for visiting! Please leave a comment so I know you've stopped by.
Deena Davis

March 1, 2016

Let's Celebrate Spring

As many of you know, I'm a member of the Old Farmhouse Gathering etsy team. Right now the OFG Team members are celebrating spring with their Springtime Wishes Celebration. Many members, including myself, have created new spring items just for this celebration.

Here are the items I've made that are included in the celebration and you can find them in my etsy shop, www.ewenmeprintables.etsy.com


You can visit etsy.com and search the letters STWOFG to see all of the OFG Team members new items included in the celebration or simply, CLICK HERE.


Have a great day!
Deena Davis
www.ewenme.com

December 9, 2015

Cute Winter Cocoa/Treat Envelopes

Today I'd like to share a few of the new cocoa/treat envelopes I put together.  These literally go together in minutes.

You simply print the file, trim off the excess and add a bit of glue to told it together.

The envelopes are sized to fit a package of hot cocoa mix but could also be used for other treats and goodies. These would make great teacher and bus driver gifts, a treat for the mail carrier or added to a gift basket.


They're so much fun to give and are guaranteed to make someone smile.


You can find these cute printable envelopes at www.ewenmeprintables.com. All printables are on sale this week too. Save 35% thru 12.13.15.

Thank you for joining us today.
Deena Davis
www.ewenmeprintables.com

December 2, 2015

Embellished Christmas Hang Tags

Hi Friends,
Today, I'd like to share some really cute primitive tags I made using some of the Merry Christmas to All... labels. These labels can be found in my etsy shop and would be great for a lot of different projects. They'd be really cute for package ties, or even placed on a primitive tree.

These are large tags. With the backing, they ended up being 3.75 in. wide by 4.75 in. high. I love the size of them. They really get noticed.

I printed the label sheet and trimmed the images. Instead of leaving the images with square corners, I chose to angle the top corners. I inked the edges with an "espresso" colored ink pad and trimmed two colors of cardstock just slightly larger than my main image. I also inked the edges of the card stock.

As you can see I chose a different colors for each tag.


I added ribbons and eyelets to embellish.


On the blue tag, I added some black enamel dots. The blue strip is simply a scrap of cardstock that was left over.


These were super quick and simple to make.

You can find the file that I worked with in my etsy shop. It's available as an instant download pdf and/or jpg file. You can find it by CLICKING HERE.


Thank you for joining us today. I hope you're enjoying our projects.
Deena Davis
www.ewenmeprintables.com

October 21, 2015

Autumn Crows

Hey There,
Thank you for stopping by. Today I'd like to share some cute crow tags I whipped up using the file Hang Tags - Autumn Crows.


I printed my tags on photo paper and I really like the results. The colors just seem to pop on the glossy paper. Of course, if you know me, you know I can't just make a plain tag,  I almost ALWAYS put card stock on the back of my tags. I usually cut it a tad bigger than the tag... which is what I did here, so that it frames the tag.


Although, you can't really tell, I inked the edges of the tag and the card stock. I used an eyelet at the top with some red and black twine looped through.

I'm happy with the way these turned out, although, I'm not real sure these pictures do them justice. If you click on the pictures you'll get a much better look.


Come back and see us again!
Deena Davis


October 14, 2015

Having Some Halloween Fun

Hi Folks,
Today, I'm sharing some tags I made with the file: Hang Tags - Halloween Fun. These were super easy to make, lots of fun and I think they turned out super cute.


All I did was simply print the tags on white cardstock and trim them out. I backed them with a rusty/maroon colored cardstock which was cut the same width of the tag but just a tad larger in length.

I just used a glue stick to put them together, after that I punched a small hole in the top and added a jute tie. Like I said... super easy to make and you can see for yourself how cute they are. (click on the image for a larger view)


Hope you're enjoying your week!
Deena
www.ewenmeprintables.com

February 6, 2015

Valentine Blog Hop

Welcome to the Ewe-N-Me Printables Valentine Blog Hop! So glad you're joining us.


Today, I'm sharing a card I made with one of the free printables you'll receive if you follow the guidelines (listed below) of the hop.

For this card, I used brown kraft cardstock for the base and some cute pink/fuschia scrapbook paper as the main background. I made the tag with the same theme  of brown kraft and fuschia.

I love twine, so I had to add some to the card. The letters LOVE and YOU are cut out using my Silhouette Cameo.

As you can see I did some inking on the edges to give it an aged look.


This hop will run for three days Feb. 6th, 7th and 8th, 2015
(free files will be available on Feb. 9th)

Make sure you visit each Design Team Member's blog and check out our exclusive Valentine designs.

Cyn - http://cynzplace.blogspot.com
Sue - http://suek86401.blogspot.com
Gracie - http://gracielliedesign.blogspot.com
Beth - http://prettybyrddesigns.blogspot.com

If you follow and leave a comment on each blog you'll get
all the printables used in the hop for FREE!

HOP GUIDELINES
1. FOLLOW all five blogs in this hop. You can follow by using Google Friend Connect, Blog Lovin, email, etc. (Each blog has different options.)

2. COMMENT on all four stops and let each designer know what you think of their project.

3. SUBMIT your info on the last stop of the hop to let us know that you've followed the rules. Once the form* is received, we'll send you the links to the free printables used in the hop. The download links will be sent when the hop is over. (Feb. 9, 2015)

*Filling out the form is NOT a guarantee of files... please be patient while we verify that your info.


ok... SO YOU WANT THE FREE PRINTABLES... right??
SUBMIT YOUR INFO BY CLICKING HERE

Thank you for joining us!
Deena Davis

January 2, 2015

Tweet Heart Tags

Hi, it's Deena here, showing off some cute tags I whipped up the other day. It only took a few minutes to finish them, that's just how easy they are.

I used the printable file Hang Tags - Tweet Hearts which feature some really cute valentine birds by Cheryl Seslar. I printed the tags on white card stock.


I added blue card stock trimmed a bit larger than the tag as a backing, some twine and eyelets to embellish.


I think these will make cute little valentines to give to friends, teachers and co-workers. They'd be nice with a Giradelli chocolate square attached to the back too.


Thanks for stopping by today!
Deena Davis
www.ewenmeprintables.com


November 11, 2014

Winner! - and a NEW GIVEAWAY!

We have a WINNER from last week's giveaway... Congratulations to Marlene Marchand
Please contact me via email (ewenmeprintables @ gmail . com) and I'll send you the gift certificate code.

~*~*~*~*~*~*~*~*~*~*~*~*~*~*~*~*~*~*~*~*~*~
Would you like a chance to win again??
Who doesn't want to win FREE PRINTABLES from www.ewenmeprintables.com!? Right?
It's easy to enter, just follow the directions below.


To get entered simply follow this blog by email, google friend connect, or blog lovin... AND (the important part) leave a comment on this post telling us how you are following us. If you don't leave a comment, you won't be entered. :-) (no purchases necessary to win)

I'll pick one random winner for a $5 gift certificate next Monday night (11.17.14) and announce it here on Tuesday, Nov. 18, 2014.

Good luck to everyone!!
Deena Davis
www.ewenmeprintables.com

November 6, 2014

New Items at Ewe-N-Me

We have several new printables this week at Ewe-N-Me Printables.  Below is a quick view of what's new, but be sure to stop by and check them out. www.ewenmeprintables.com


If you'd like a chance to win FREE printables be sure to register for our weekly Gift Certificate drawing. You can register by CLICKING HERE.

Enjoy your day!
Deena Davis
www.ewenmeprintables.com

October 17, 2014

This Week's New Printables

Have you seen the new printables that were released this week? There's new Trick or Treat popcorn wrappers (that match up with some of the candy bar wrappers), a Thanksgiving pillow box and some victorian Santa postcard tags.

Here are some previews, but be sure to stop by www.ewenmeprintables.com to see everything.


Don't forget about the Giveaway... if you'd like to win FREE PRINTABLES be sure to enter our Tuesday Giveaway.

See ya next time!
Deena Davis
www.ewenmeprintables.com

October 14, 2014

Tuesday Giveaway!

It's giveaway time! How would you like to win FREE PRINTABLES from www.ewenmeprintables.com!? Now's your chance and it's easy to enter.


To get entered simply follow this blog by email, google friend connect, or blog lovin... AND (the important part) leave a comment on this post telling us how you are following us. If you don't leave a comment, you won't be entered. :-)

I'll pick one random winner for a $5 gift certificate next Monday night (10.20.14) and announce it here on Tuesday, Oct. 21, 2014.

Good luck to everyone!!
Deena Davis
www.ewenmeprintables.com


September 24, 2014

Magnetic Bookmark Made From Tags

Hello... Today, I'm showing you a cute little tutorial on how to make a magnetic bookmark.

I printed the file, Hang Tags - Sunflowers on white card stock, trimmed two the tags and inked the edges with a coffee colored ink pad.

After that I cut a piece of brown cardstock 2 inches wide by 9 inches long. I folded the cardstock in half lengthwise, then I glued the tags to the brown cardstock. Place them so the top of the tag is near the fold and try to line them up the same on both sides.


The next step was adding the magnets. I attached two small magnet pieces together, making sure they attached to each other. Then, I glued them both to the inside of the open end of the folded cardstock. I left them attached while gluing so the would line up correctly. Gluing one side and then the other.


Once the glue was dry, I added eyelets to each side of the tag where the printed eyelet was... it was a bit tricky to make sure they were lined up, but I used bigger sized eyelets and it helped to cover up the flaws. After that, I threaded some ribbon thru the eyelets.


The bookmark is now ready to use, simply place it over the top of a few pages and let the magnets grab on. You can turn your book upside down and it won't fall out.


Thanks for joining us today!
Deena Davis
www.ewenmeprintables.com

September 17, 2014

Printing on Fabric Using Freezer Paper

Have you ever wanted to print images on fabric? Here's a great tutorial to help get you started.

Things you'll need...
freezer paper
muslin
inkjet printer
iron
scissors

 
~ please read all instructions before you begin ~

Cut a piece of freezer paper at 8.5" x 11" 


Iron the shiny side face down on a piece of muslin.


Once the paper is attached to the muslin, trim the muslin to the same size as the paper, 8.5" x 11".


Be sure to check for stray threads and trim away any excess fabric that isn’t bonded to the freezer paper along the edges.

Place the fabric sheet in the paper tray of your printer, it’s best to have some other paper below the fabric sheet – it just helps the fabric sheet to feed thru better.


Now, print your image.


You’ll probably have to play with the settings on your printer to achieve the quality you’re after. Once you figure out what works best, I suggest that you write it down so you’ll know for next time.

Once the fabric is printed, let it sit for a minute or two until the ink is dry. Gently peel away the freezer paper backing.

A Note About Ink:
Some inks for inkjet printers are not colorfast so you’ll need to test that out, you don’t want your project ruined if it should get wet.
I use an Epson printer and Epson Durabrite ink which is permanent. I’ve even washed the printed fabric and it still looks great!

A Note About Freezer Paper:
Freezer paper is found in most grocery stores in the same aisle as foil, plastic wrap, etc. Make sure it says FREEZER paper. Do not use wax paper, it’s not the same thing and wax paper won’t work.
I like to use pre-cut 8.5”x11” sheets of freezer paper. It really saves some time. I buy mine from www.cjenkinscompany.com They also have pre-treated printable fabric and fabric sheets.

The Fine Print:
I have never had any problems using this method of printing. However, I will NOT be responsible for any damages that may occur to your printer by using this method of printing. If you follow these directions you are printing at your own risk.

The images being printed for this tutorial are from www.EweNmePrintables.com

Thanks for joining us again!
Deena Davis