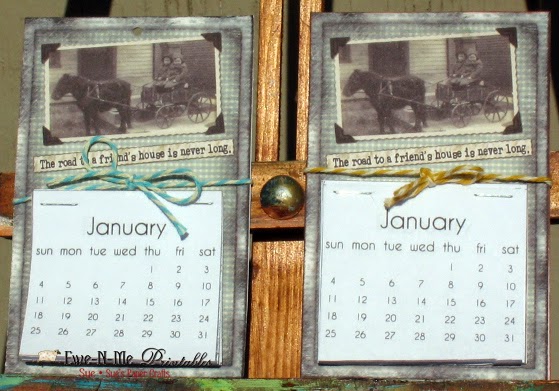
I couldn't decide if I wanted to make birthday or note cards, then I looked at my stack of correspondence that I SHOULD be answering I went with note cards using this very file: Altered Calendar Hang Tags You get all 12 months in this file.

Since I am still learning how to use the eBrush I got with my Christmas gift card I wanted to incorporate it in the project so I pulled out the masks that I have had for a couple of years but never used before. I really like the rick rack/zig zag look so I started with that mask. I also decided to go with a newsprint paper because the rick rack on these are layered on to newsprint paper.

I laid the mask on my paper and held it into place using blue painter's tape (this stuff is GREAT!! I've had this roll for quite a while but never used it before). I find that the eBrush is very easy to use, changing colors is no big deal and I don't have the overspray that you get when you use the spray bottles, no more going outside in the wind trying to add a little color to my paper.


Since I am still learning how to use the eBrush I got with my Christmas gift card I wanted to incorporate it in the project so I pulled out the masks that I have had for a couple of years but never used before. I really like the rick rack/zig zag look so I started with that mask. I also decided to go with a newsprint paper because the rick rack on these are layered on to newsprint paper.
I laid the mask on my paper and held it into place using blue painter's tape (this stuff is GREAT!! I've had this roll for quite a while but never used it before). I find that the eBrush is very easy to use, changing colors is no big deal and I don't have the overspray that you get when you use the spray bottles, no more going outside in the wind trying to add a little color to my paper.
I really like the way I had a couple of different zig zag options to add a little extra to my note cards but I got tired of zig zags and used different masks on the remainder of the year.
I like the zig zag pattern the best then the diamond shaped mask, not real nuts about the circles, which do you prefer?
As you can see, I punched the hole at the top of the tag and added a matching piece of twine and a piece of twine up the folded side. On the zig zag patterned paper I also added a piece of matching paper that I ran through my Cuttlebug with a zig zig edge folder. I adhered the tags to the card using foam tape.
See you next time.
Sue Kracker